
구름 ide에서 작성한 코드 github에 업로드 하는 방법
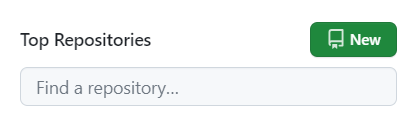
깃허브에서 새 repository 생성
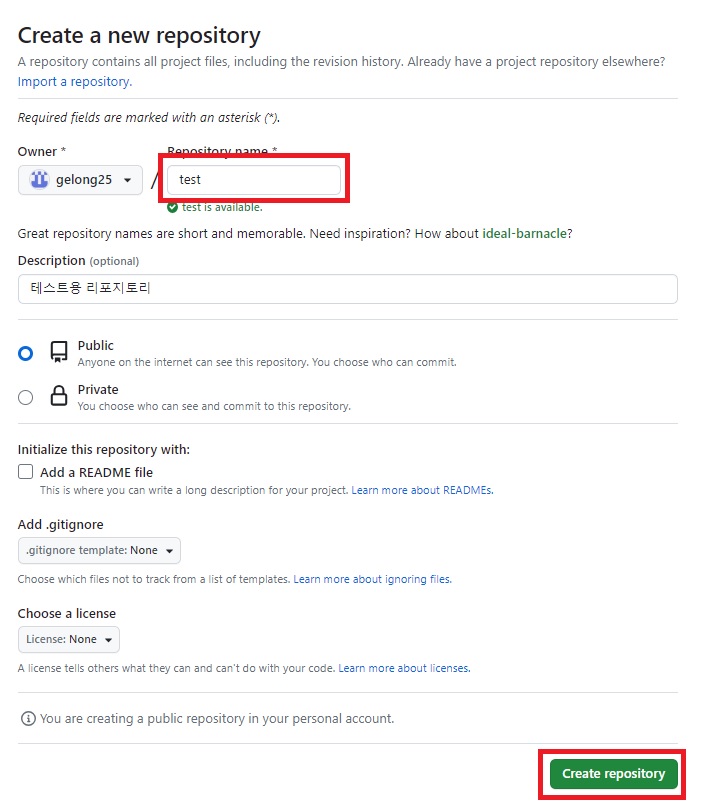
New 클릭 -> repository name 설정 -> create repository
생성된 command line을 구름 ide 명령창에 입력

명령어 입력하는 방법
순서대로 git init 부터 명령어 창에 입력해준다
다음 git add . 을 입력해준다
add README.md는 README 파일만 업로드 한다는 의미이고
. 명령은 모든 파일을 추가한다는 의미이다
다음 commit은 해당 리포지토리에 대한 설명을 적는 부분이다
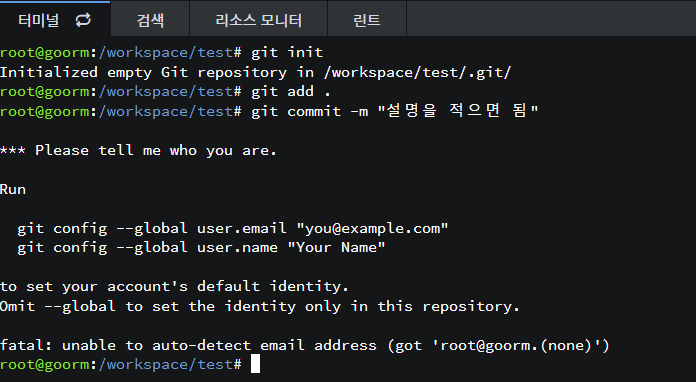
*** Please tell me who you are.
Run
git config --global user.email "you@example.com"
git config --global user.name "Your Name"
to set your account's default identity.
Omit --global to set the identity only in this repository.
fatal: unable to auto-detect email address (got 'root@goorm.(none)')
위와 같은 오류가 뜬다면 아래와 같이 깃허브의 닉네임과 이메일을 입력해주면 된다
git config --global user.name "Your Name"
git config --global user.email "email@example.com"
그럼 오류가 해결된다
마지막 git push -u origin main 명령을 입력하면
아이디 및 패스워드를 입력하게 된다
이 때 패스워드 대신 액세스 토큰을 입력해야 한다
깃허브 액세스 토큰 생성하는 법
깃허브 Settings
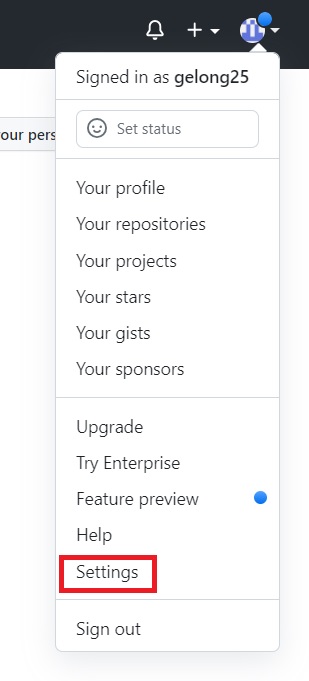
좌측 하단의 Developer Settings

Personal access tokens -> Tokens -> Generate new token
Note -> 토큰 이름 설정
Expiration -> 만료 기간 설정
Select scopes -> 토큰 권한 설정 리포지토리 용은 repo만 체크
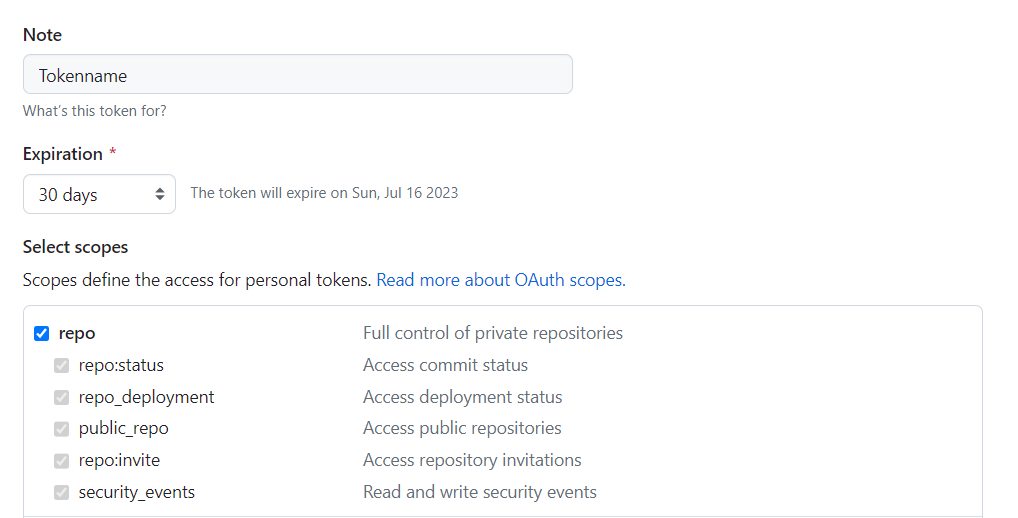
맨 밑에 있는 Generate token 클릭
생성된 토큰을 복사하여 구름 ide 명령 창에 붙여넣기
(비밀번호 및 토큰은 입력해도 보이지 않음)
깃허브 리포지토리 창 새로고침하면 업로드 된 파일 확인 가능
'💻 Side project > Web' 카테고리의 다른 글
| [Web] 웹 개발 필수 지식, DOM이란 무엇일까? (0) | 2024.05.20 |
|---|---|
| [Web] 깃허브 리포지토리 삭제 (0) | 2023.06.16 |
| [Web] 색상 조합 추천 사이트 (0) | 2023.06.02 |
| [Web] 파이썬 이미지 크롤링 웹 스크래핑 하는법 (0) | 2023.05.17 |
| 구글에 티스토리 블로그 노출하는 방법 (구글 서치 어드바이저) (0) | 2023.05.06 |


댓글